
The MYP Design Cycle’s Criterion C
In MYP Design Criterion C – Creating the Solution, students make their design to solve the problem defined in Criterion A. Criterion C is usually the favorite part because students actually make their designs. Their ideas and creativity come to life. The research in Criterion A and the idea development in Criterion B have prepared the students for this moment. The time to delay gratification is over!
In general, students first write a plan to build their chosen solution. Students then follow the plan and modify it as needed to create a prototype. This solution is built according to the design specifications. The design specifications were established in Criterion B.
Strand C.1 – Construct a Logical Plan
Students make a plan to build the prototype of their best idea–the solution to the problem. They develop this plan with their peers in mind. Can a peer follow my plans easily? They also consider any relevant design specifications in this planning strand. Efficient, clear, and precise communication is essential. The design specifications in Criterion B were written in a similar way. Informational/explanatory writing is needed in these areas.

The MYP Design Guide describes this plan-making strand requirement as follows:
- Year 1 (grade 6) – “Outline a plan, which considers the use of resources and time, sufficient for peers to be able to follow to create the solution.”
- Year 3 (grade 8) – “Construct a logical plan, which outlines the efficient use of time and resources, sufficient for peers to be able to follow to create the solution.”
- Year 5 (grade 10) – “Construct a logical plan, which describes the efficient use of time and resources, sufficient for peers to be able to follow to create the solution.”
What works to communicate a how-to the best way? The plan’s language can be a mixture of text, symbols, images, and sketches. Think about the instructions you’d receive to build a set of shelves. What about folding an origami crane or building a model airplane? Good plans are a coherent mix of step-by-step instructions with clear illustrations. A flow chart or a PERT chart could be used to show logical steps.
Be Specific Not General
As with the design specifications in Criterion B, if students are unsure about their building plan, they may try to generalize the building steps to make their product. Watch out for this! It is best to assume that there will be changes to the plan once the building starts. Forecasting changes to the plan are not an invitation to write vague steps in this strand so that the plan may be “correct” to fit the actual build.
If the building plan lacks details, identifying changes in Strand C.4 – Justify Changes Made to the Plan, will become more difficult. Based on all the good work the student has done up to this point, they should write a plan as specific as possible and not fret over possible future changes.
Strand C.2 – Demonstrate Excellent Technical Skills
For Years 1, 3, and 5 students, the MYP Design Guide states the same description for Strand C.2. In this part of the design cycle, students will “demonstrate excellent technical skills when making the solution.” What does this exactly mean? How can your students show excellent technical skills in Criterion C – Creating the Solution?
Safety First!
Safety should always be fundamental to creating physical products. Pointy scissors, hot glue guns, and hacksaws can be dangerous! Do technical skills relate to safety? Of course! However, unless you are assessing safety as part of Strand C.2 – Demonstrate Excellent Technical Skills, do not include it as an academic accountability component. Emphasize safety during Criterion C as part of your ATLs (Approaches to Learning) or under your classroom rules.
Photographic Documentation for Physical Product Designs
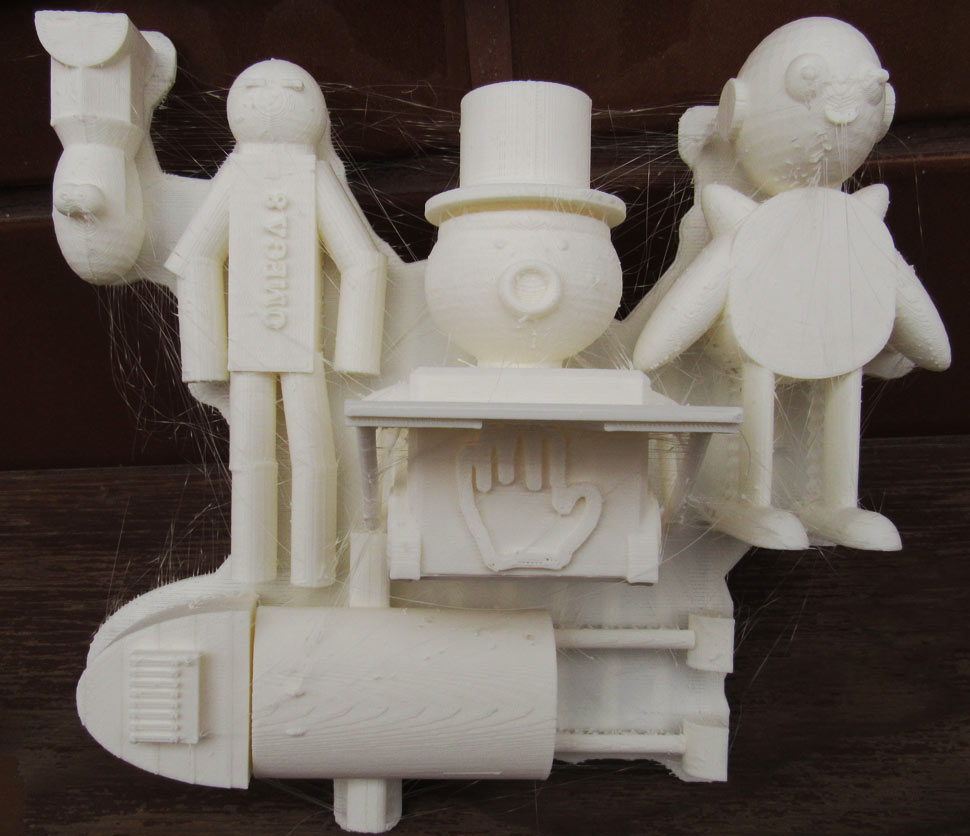
To the greatest extent possible in MYP Design Criterion C – Creating the Solution, have students photograph the sequence of building steps of their physical products/solutions (e.g., the newspaper water tank). It’s super helpful to take as many pictures as possible to document the process. Students need to document, document, and document! FYI: Some Criterion C documents can be over twenty pages sometimes because of the many photos.
Why take lots of photos throughout the building process? Because students will more easily know if they followed the plan to create the solution (Strand C.3 requirement). They will also be better set up to expertly and accurately justify any changes made to the plan (Strand C.4 requirement).

As early as possible in the school year, students should learn how to use the camera on their laptops. For this task, students will probably need a class or two to practice composing scenes and editing the photos for optimal lighting and clarity. You may need to do a mini-lesson on photo editing with the Windows Photo App, Preview in OS X, or something web-based like Pixlr for Chrome. Final note: The younger the student the less personal smartphones should be used as a camera option.
Photo Editing Choices
For a more comprehensive process capture of the excellent technical skills, chunk the photography sessions during the build. Do this by setting up the student document (usually a Google document) with sections in a table to insert the photos.
For example from the Engineering a Paper Water Tank unit, students needed to insert two different photos per building step (up to five per row). The five building steps were categorized into these areas:
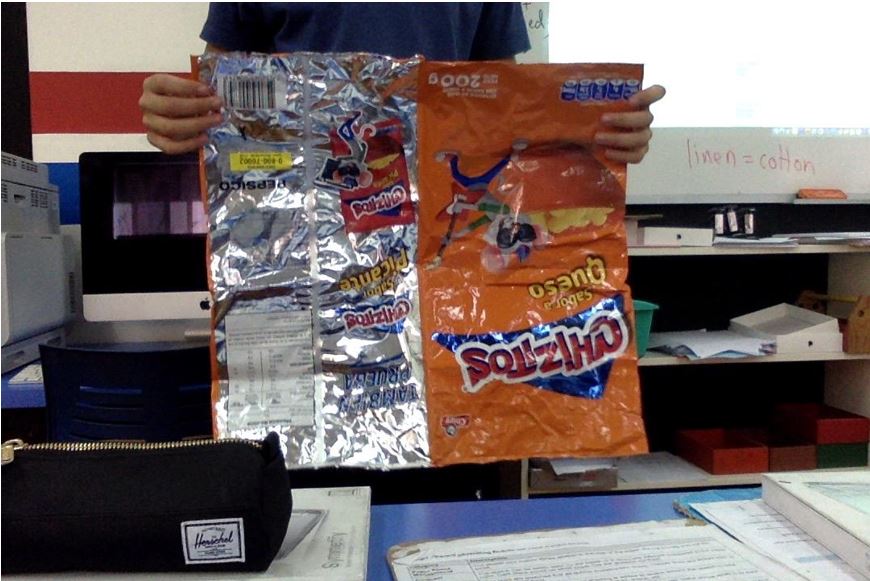
- Preparation (Materials, Resources, and Group Members)
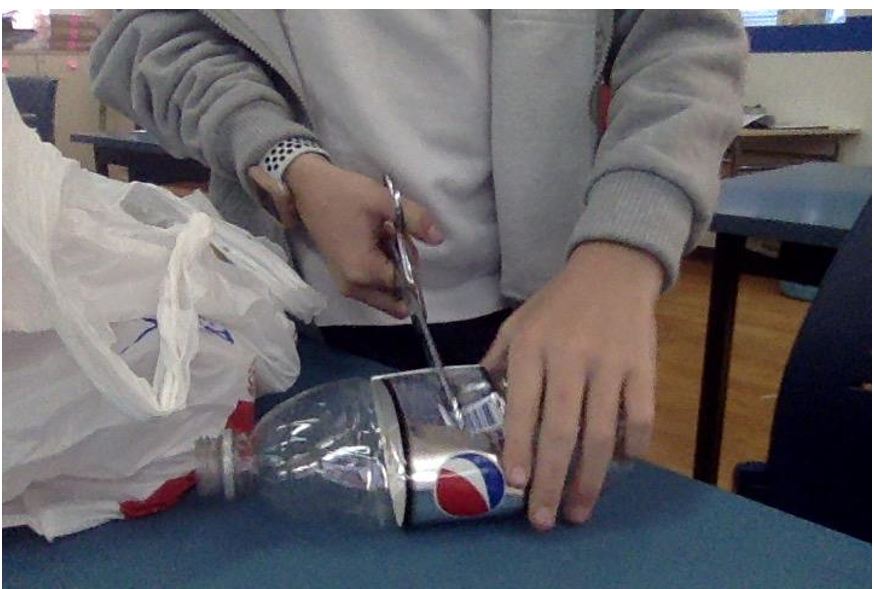
- The First Steps
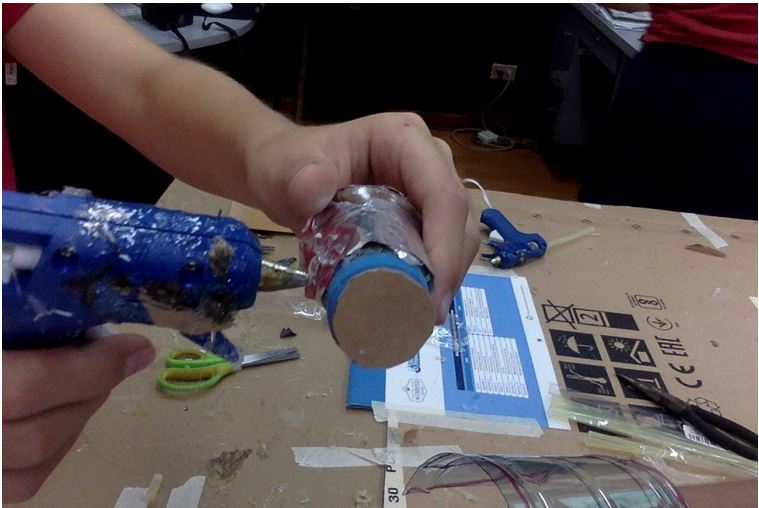
- The Middle Steps
- The Finishing Steps
- The Final Tank (Include a ruler in these photos)
This setup is essentially an advance organizer to provide students with organizational cues.
Screen Shot Documentation for Digital Designs
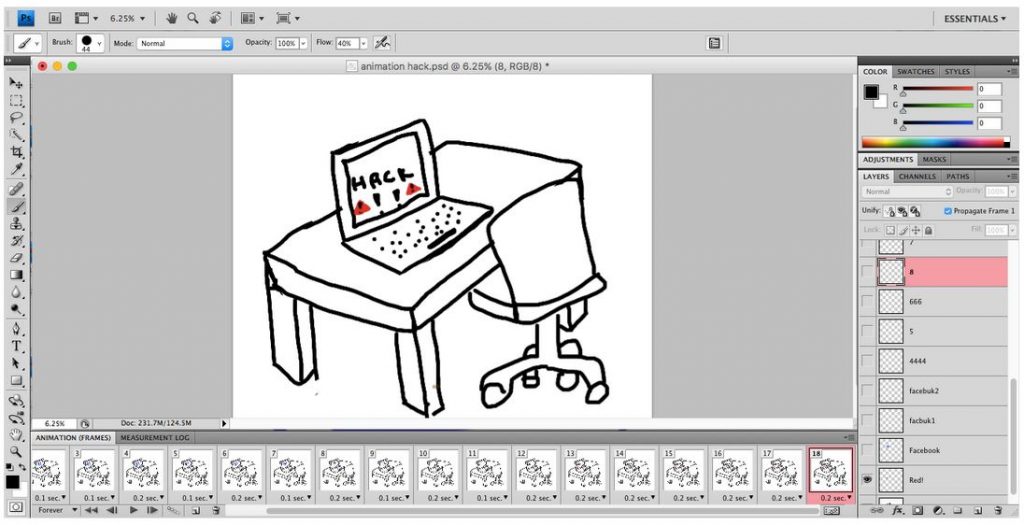
When creating digital designs to demonstrate excellent technical skills, students can submit screenshots of their work. For some projects, students take screenshots of a digital build over time to show a progression of development to demonstrate excellent technical skills.
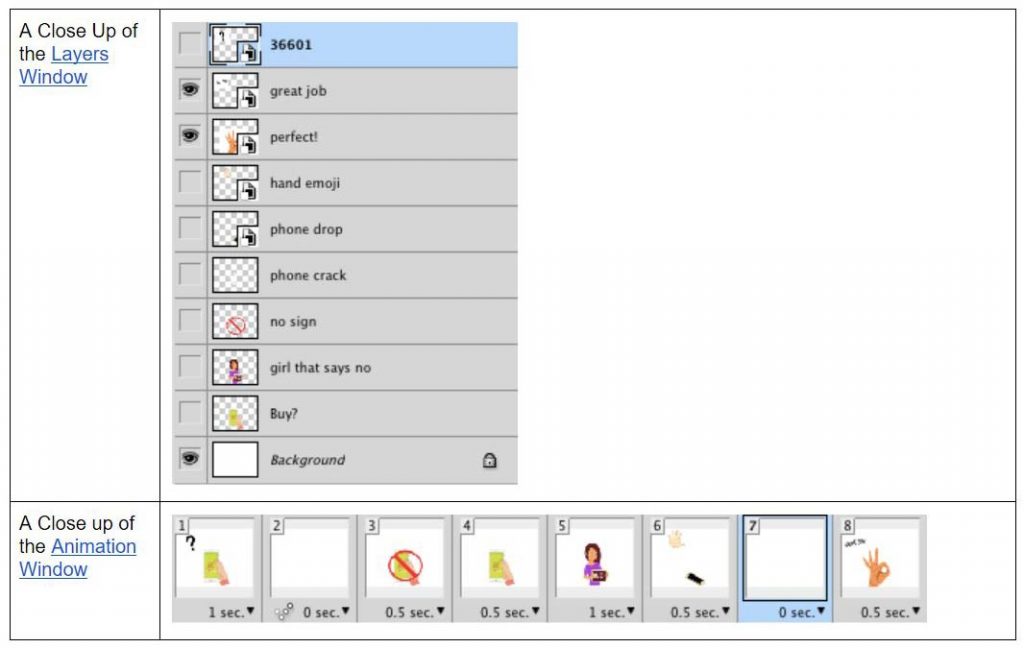
Additionally, screenshots of how the project looks within the app or software can serve as a demonstration of excellent technical skills for digital designs. For example, when learning to animate with Adobe Photoshop, my students submitted screenshots of their Animation and Layers Windows. The animation frames show the timing and sequence decisions of the layers to be shown. The Layers Window nomenclature can reveal decisions about organization choices.


For presentations or graphic designs, you can consider technical skills in terms of the best practices in visual design. One idea I have used: When creating Google Slide presentations about community service robots, my students showcased one slide that best used the C.R.A.P. Model for optimal visual communication. Students also needed to explain why their chosen slide was effectively using contrast, repetition, alignment, and/or proximity.
Finally, Criterion B‘s design specifications may be calling out for requirements that require excellent technical skills. It does though depend on the focus of the unit. Regardless, make sure to keep in mind the design specifications when determining how you want your students to demonstrate excellent technical skills when making the solution.
Strand C.3 – Follow the Plan to Create the Solution
I have found for some units, combining strands is helpful. For example, it can make more sense for students when creating a physical product to combine Strands C.2 and C.3 or combine C.3 and C.4.
For the Water Tank Engineering with Newspaper unit, the students addressed C.2 and C.3 simultaneously. The step-by-step photographic evidence of the build offered direct evidence of technical skill level (Strand C.2). The photos also showed how the student followed the plan to create the solution (Strand C.3).
Honestly, most students do not reference their plan made in C.1 while building in C.2 and C.3. However, having a plan makes sense to be as prepared as possible. A written plan allows students to reflect on changes as well to deepen their understanding of problem-solving.
Strand C.4 – Justify Changes Made to the Plan

All plans change. It’s a fact of life. Reassure students that their plan could change. Even with adults working in fields such as construction changes occur. For example, a change order is a common document in the construction of homes and office buildings. Change orders officially record an amendment to the original construction contract.
Changes to plans that arise from an intent to better solve the design problem should happen in MYP Design. And these changes should be well documented. Unreasoned or drastic changes to plans should not be happening.
The C.1 to C.4 Connection
A common problem in Strand C.4 can arise from the lack of details in the step writing in Strand C.1. A plan that lacks specifics inevitably results in an inability to sufficiently identify changes to the plan. Students with a limited vocabulary and/or limited English may not generate sufficient details in C.1 and can suffer from the challenges of needing to be specific. With this in mind, try to give detailed formative feedback no later than the end of Strand C.1 to help ensure future success for students in Criterion C.
MYP Design Criterion C Wrap Up

After researching the problem in Criterion A and developing their ideas in Criterion B, students are eager to make their design in MYP Design Criterion C – Creating the Solution. They are as ready as ever to show what they know to be an effective solution to the problem.
Starting with a very specific written plan leads to success in Criterion C. It’s okay if a plan changes. It’s not okay if a plan is unclear.
Assessing Criterion C is done across all four strands. It’s important to provide feedback early so that any misconceptions can be cleared up to ensure future success. Strands C.2 and/or C.3 can wind up being a series of process photos for physical product designs. Ensure students know how to use their device cameras and have some skills in image editing.
Ready to wrap up the MYP Design Cycle with one final criterion? Then it’s time to check out Criterion D – Evaluating.