
MYP Design Subject Overview
In the prequel to this follow-up post, I began to reflect on my first experiences in MYP Design with Year 1 students (grade six). I chose this topic because I thought that the information would be helpful for MYP Design teachers–especially those new to MYP like I was. Also, if you teach STEM/STEAM, I believe there are tips and tricks to be gained from this information. Water tank engineering from newspaper was a perfect first lesson to learn problem-solving through a cycle.
Here’s a mini-review: MYP stands for Middle Years Program and is part of the International Baccalaureate® (IB) Program. MYP Design puts a focus on problem-solving and systems thinking–ideally in a global context. Students solve problems guided by the four-part MYP Design Cycle which structures their learning through four phases or criteria.

Image Credit: http://anwatindesign.weebly.com/
These four criteria are:
A – Inquiring and Analyzing – Define and research a design problem.
B – Developing Ideas – Brainstorm and refine ideas to solve the problem.
C – Creating the Solution – Plan and build a prototype sufficient for testing and evaluation.
D – Evaluating – Test and evaluate a solution to determine the effectiveness of the solution for the target audience.
(I worded some of these criteria slightly differently than the official versions based on my experiences with the age group’s needs.)
Water Tank Engineering in MYP Design
Water Tank Engineering from newspaper made sense as an introductory lesson to MYP Design because of its straightforward nature and the materials are easy-to-acquire. The topic was limited, however, in terms of extending student thinking into historical and contemporary contexts (which is part of how the IB describes MYP Design).
The GRASPS, which is an effective model to begin a performance task, establishes the context for MYP Design units. In this example with the newspaper water tank, the GRASPS could have been elaborated to accommodate the need for a broader, more global perspective. The “MYP-ness” of the units did grow as the year went on.
A paper water tank engineering project can also be considered an easy, long-term STEM activity, aligns with many connections to Common Core Standards, and offers project and problem-based learning for students.
Water Tank Engineering Design Choices
Strand A.2 Identify and Prioritize the Research
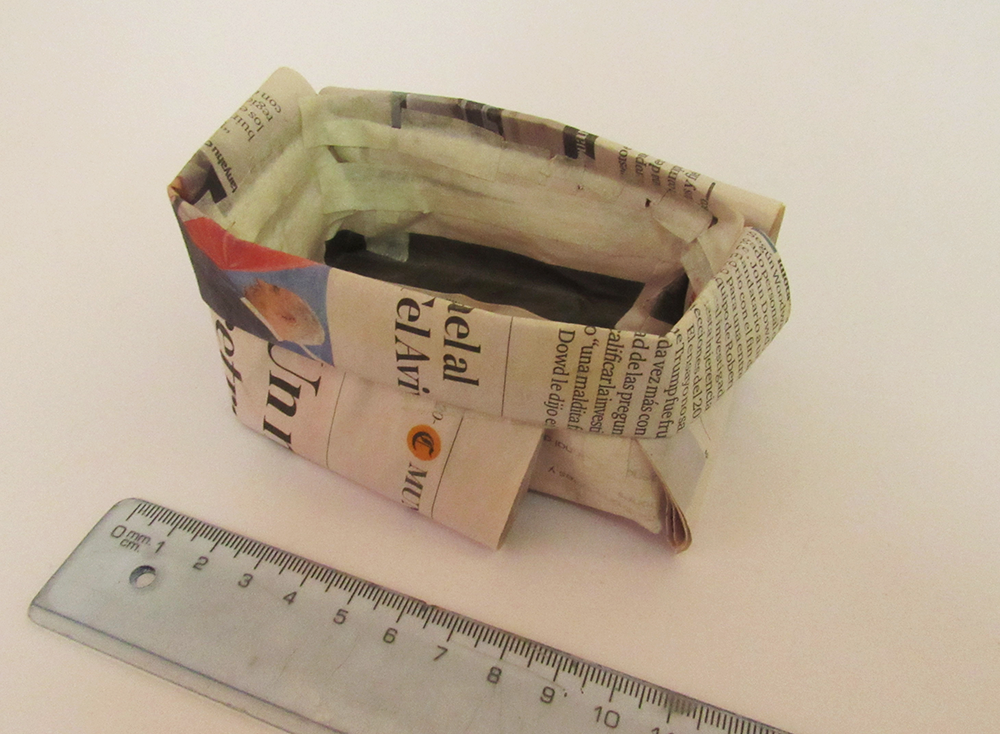
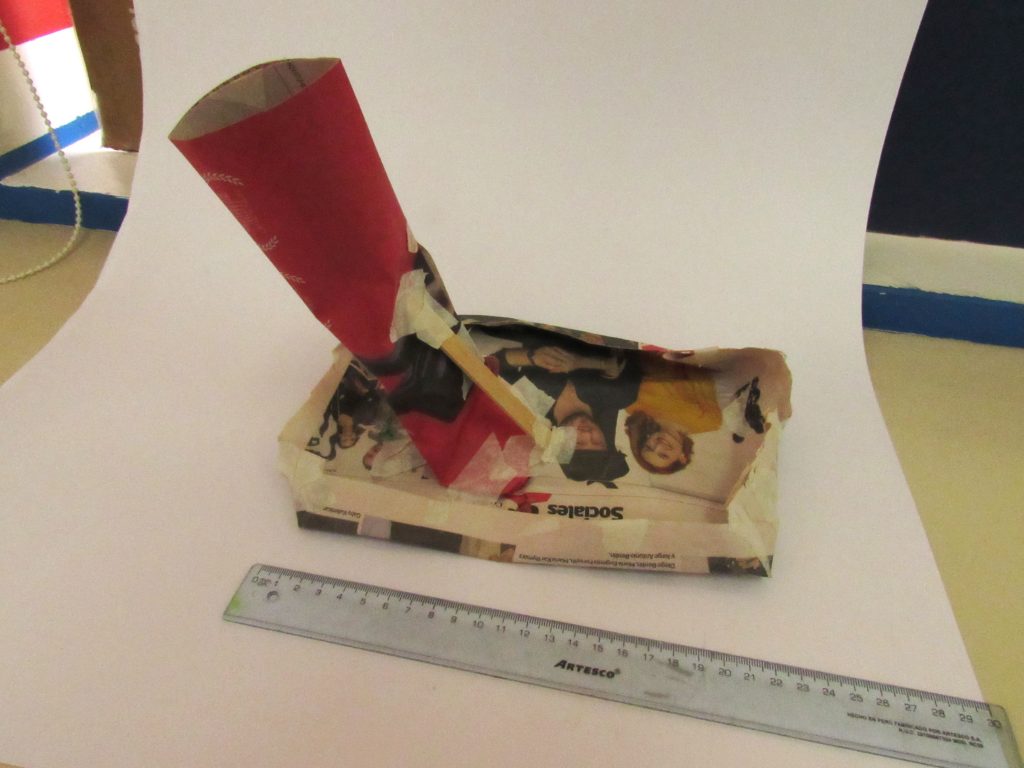
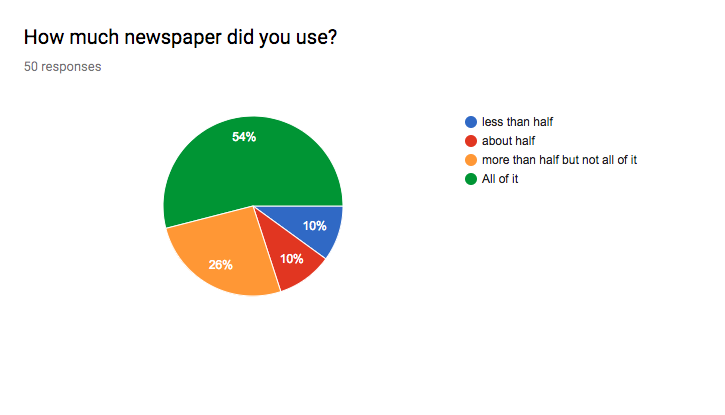
Water tank engineering from newspaper, like any problem to be solved, starts with research! In Criterion A, Inquiring and Analyzing, Strand A.2 Identify and Prioritize the Research, students made a rapid prototype to conduct their primary research. They interacted with about half of the total newspaper, Popsicle™ sticks, and masking tape to get acquainted with the properties of the materials.
Why just half the materials? I didn’t want to give too much away–I didn’t want students to feel like this was the actual tank build without a deliberate and sequential process. Initially, Criterion A for this unit had been purely reading and writing with discussions. It was also regarded as the least-liked of the four MYP Design criteria for all the units I taught. Making the research phase more hands-on promoted greater engagement among students and boosted Criterion A’s popularity a bit more with the students and with me!
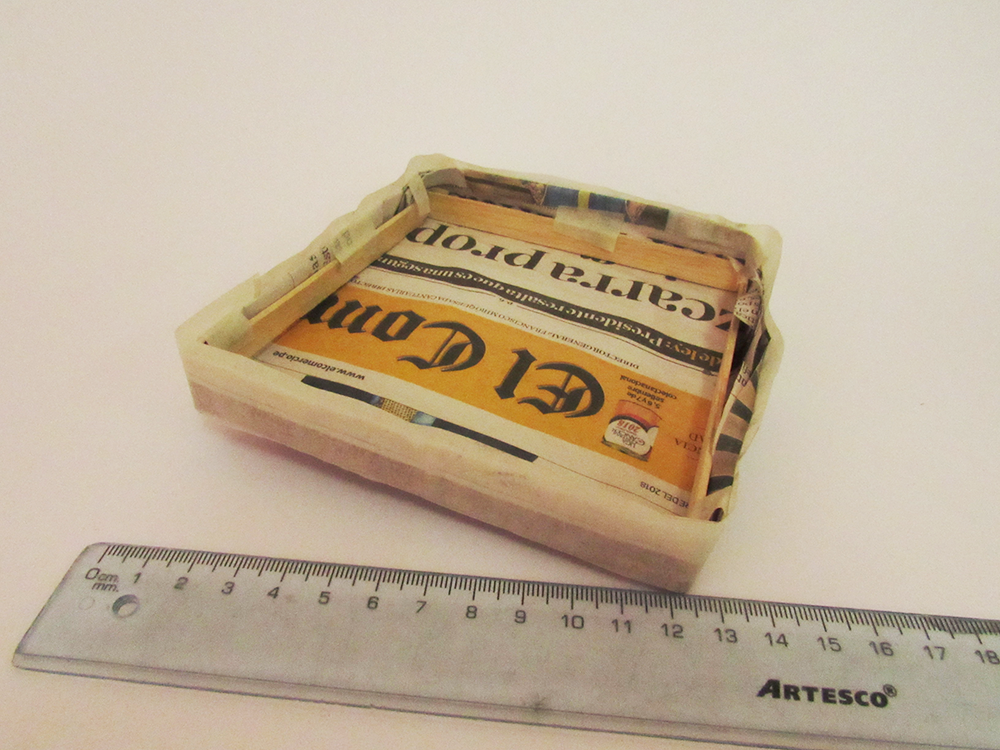
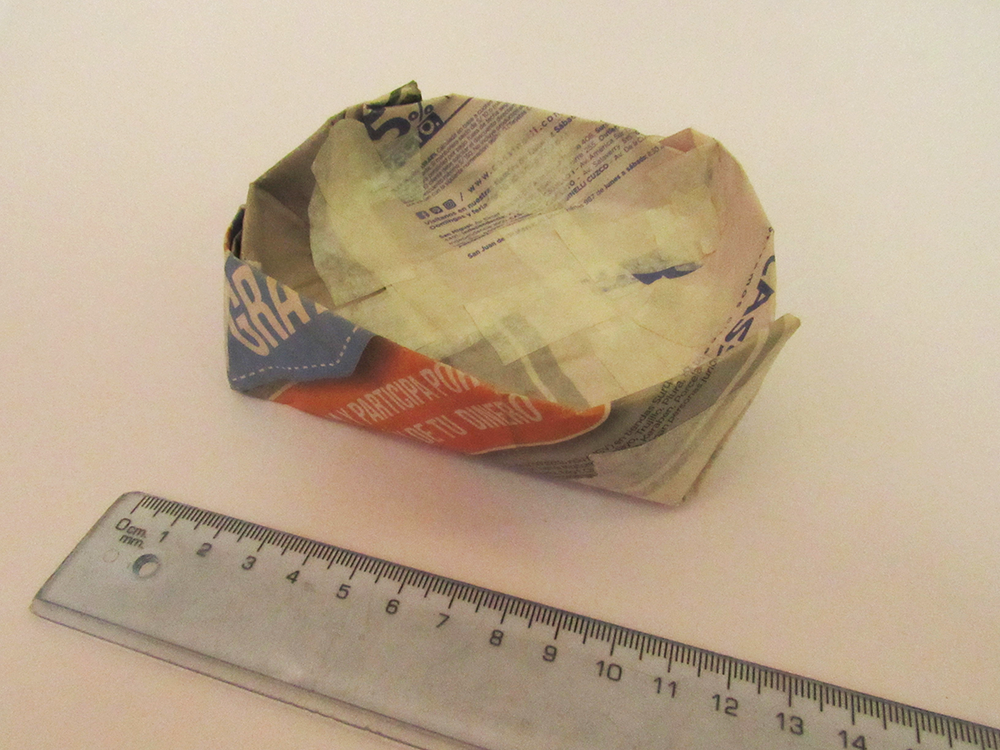
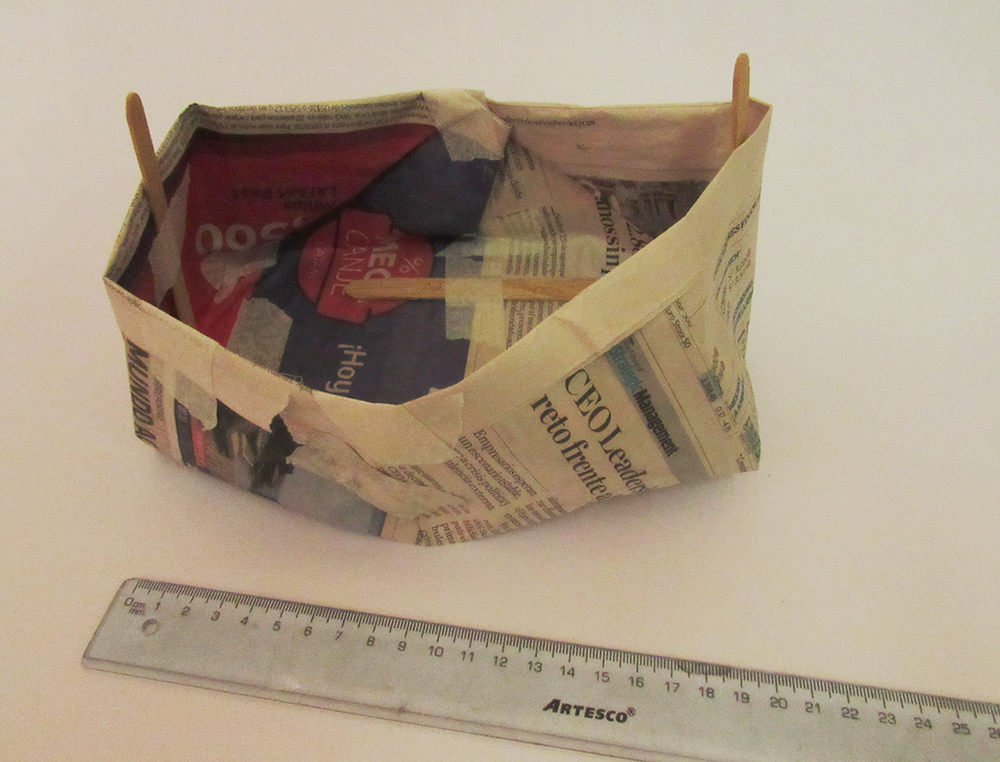
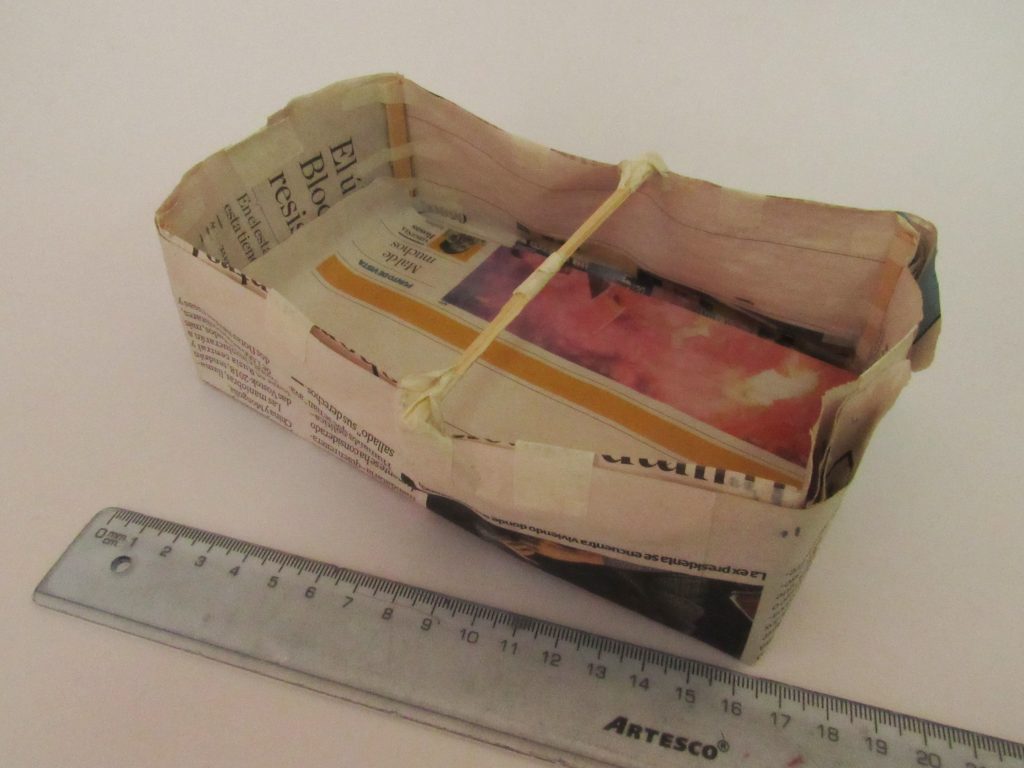
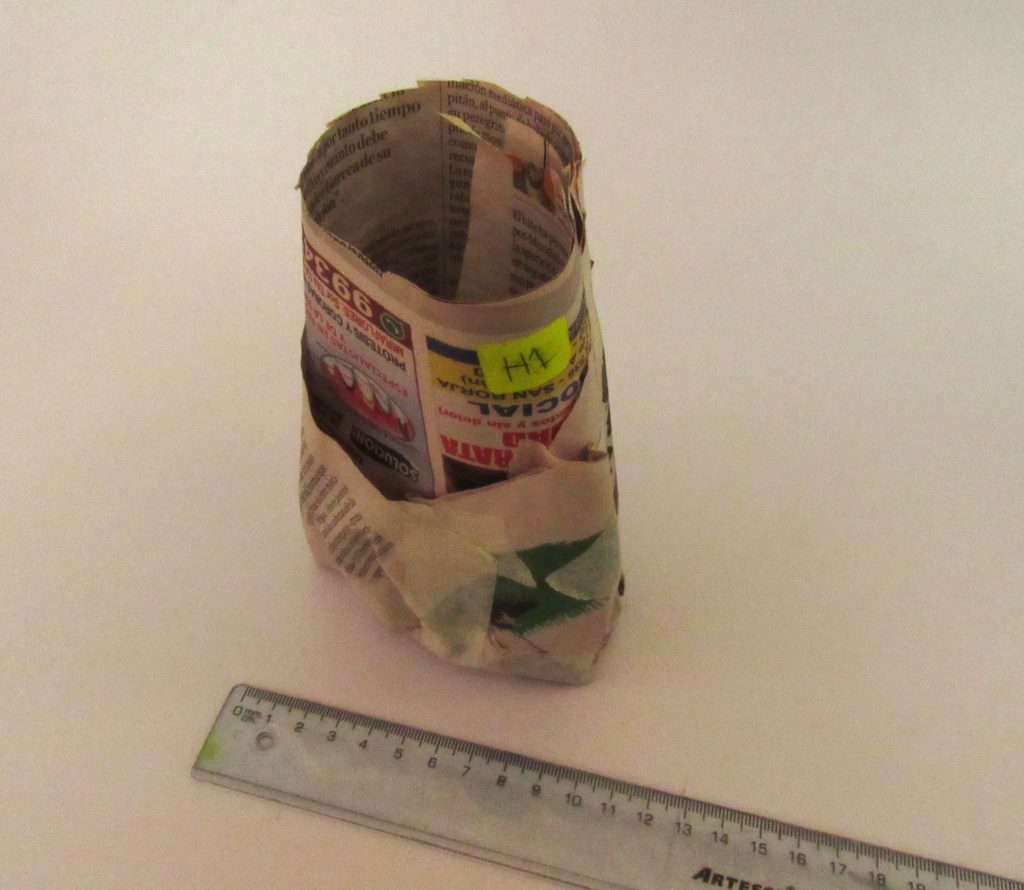
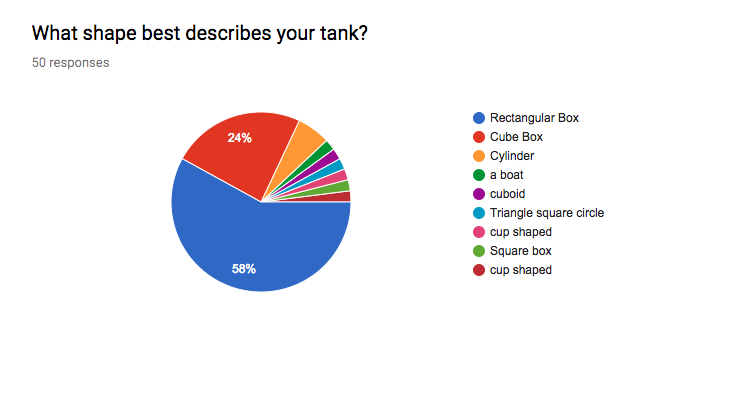
Although a few student teams would arrive at Criterion C ready to negotiate a final newspaper water tank design, and willing and able to grapple deeply to create a light and strong tank, many chose to make simple rectangular boxes using all of the available materials.
From Criterion A to Criterion B
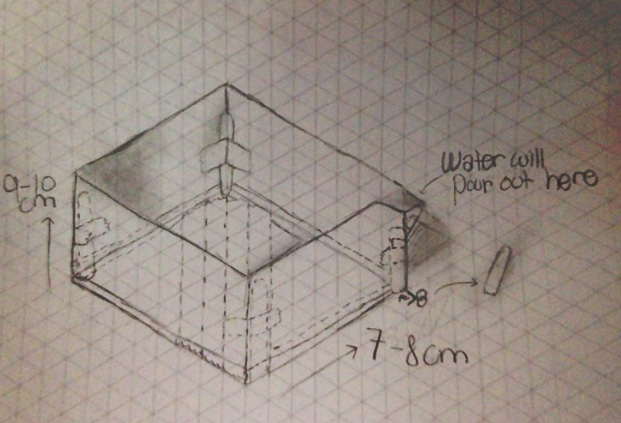
Students spent the beginning of nearly every class sketching for 10 to 15 minutes during Criterion A. This was practice–not for an academic grade–but to develop and refine their visual communication skills. Students practiced sketching frequently during this research phase to arrive at Criterion B as prepared as possible to visually represent their best idea as clearly as possible.
Much of Criterion B was dedicated to brainstorming tank ideas, refining the ideas in terms of established specifications, and developing specifications from which to measure success.
Water Tank Volume Insights
After my first year of MYD Design, I eventually learned that my students needed to have a sense of what 200 milliliters looked like–the volume of water that each tank was required to hold for three minutes.
Two hundred milliliters of water in cylinders of different diameters and heights can appear to be different amounts! Therefore I shared various cylindrical containers with marked graduation intervals for discussion during Criterion A to gain insights into how to build appropriately sized tanks.


Taking advantage of the fact that one milliliter equals one cubic centimeter in volume, I also shared base-ten blocks in units (ones), rods (tens), flats (hundreds), and cubes (thousands) for a more rectilinear perspective of 200 milliliters.
By exploring volume a bit, students were better equipped to make tanks with sufficient capacity for testing. If we had gone deeper, the Common Core geometry-based standard, Solve Real-world and Mathematical Problems Involving Area, Surface Area, and Volume, offered rich connections for learning.
Must-have STEM Supplies

Apart from the tank materials listed in the GRASPS, research and testing equipment were needed as well! A STEM bin in your classroom or a neighbor’s classroom might have these generally easy-to-acquire items, so check there first. The suggested quantities are for one class of students:
- Bin of 1 cm cube blocks, 10 cm unit rods, 100 cm unit flats, and a 1000 cm unit cube. Use during Criterion A research for volume understanding. Quantity: 1 per table group.
- Stackable and reusable transparent plastic measuring cups. 8 ounces/250milliliters with marked intervals. Set of 20. Use during primary research in Criterion A and for volume understanding. These can be used like beakers, but do not have pour-out spouts. Quantity: 1 set.
- Triple beam balances that max out in the 600-gram range, or the much less expensive electronic scales. Quantity: 2-3 for triple beam balances. Quantity: 1 per table group for electronic scales. Be consistent. Use the same scale for the official massing of all tanks.
- 250-milliliter clear plastic measuring beakers with 25 mL milliliter increments. Set of 12. Quantity: 1 set. These may be optional if you feel the stackable and reusable transparent plastic measuring cups will suffice. These beakers do add a sense of officialness when used during the actual testing. They are also not expensive.
- 250-milliliter graduated cylinder, with graduation intervals of 2 milliliters to measure water held by tanks after three minutes. Quantity: 1-2.
- 6-inch+ diameter plastic funnel for the official testing of the water pour-out into the graduated cylinder. Avoid spills! Quantity: 1-2.
- Stackable rectangular plastic cafeteria trays to control spills during primary research in Criterion A and during the official testing. Quantity: 1 per table group.

As mentioned previously, the measuring jars combined with unit cubes provided a more comprehensive volume perspective during the Criterion A research. To be consistent when massing the final tanks, I used one calibrated scale for all tanks to eliminate extraneous variables. My students were more interested in learning how to use a triple-beam balance, so we used that for the official massing of tanks over the less expensive electronic scales.
Where possible, consider using plastic instead of glass to facilitate your peace of mind given the age group. Also, a little precision may be lost with beakers and graduated cylinders greater than 250 mL capacity, especially when pouring out the water after testing.
How to Test a Newspaper Water Tank
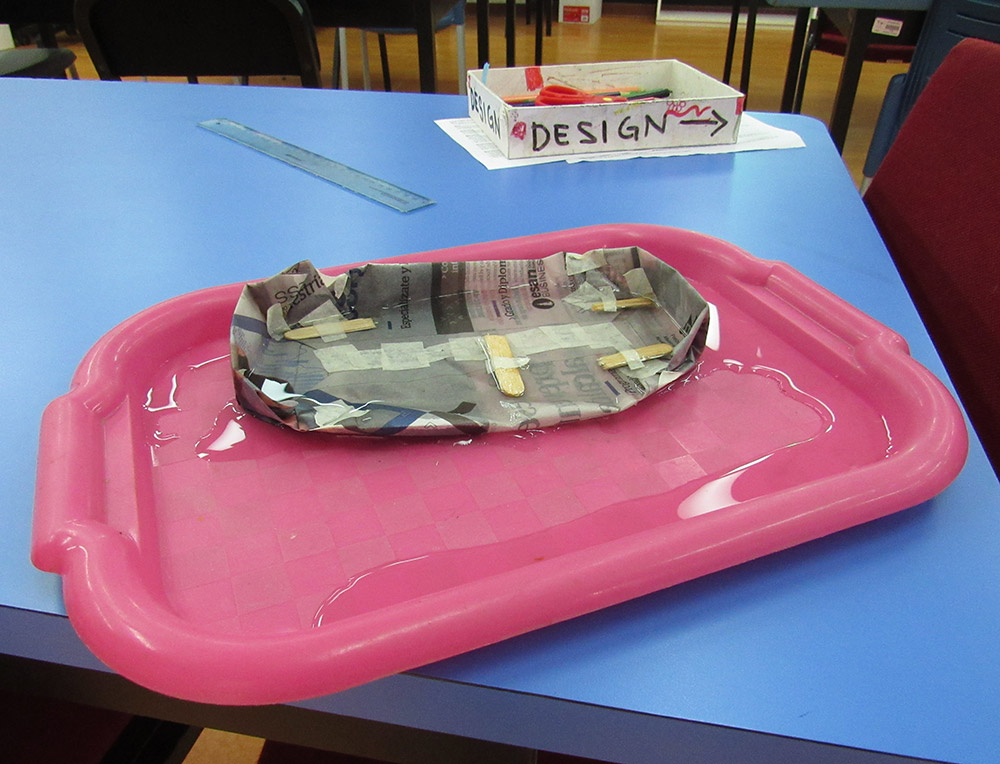
A funnel might help to pour water out of the tank and into the graduated cylinder with consistency. We did not use one. Eventually, we got the hang of the process by tilting the cafeteria tray to support the tank for the water pour-out. This method reduced accidental spillage and limited any accidental tank failure caused by picking up a wet and sometimes delicate tank.
We learned too that upon finishing the test any water in the tray would spill out onto the bookshelf or onto the floor. This tray water would of course not count toward the goal of the tank holding as much water as possible.
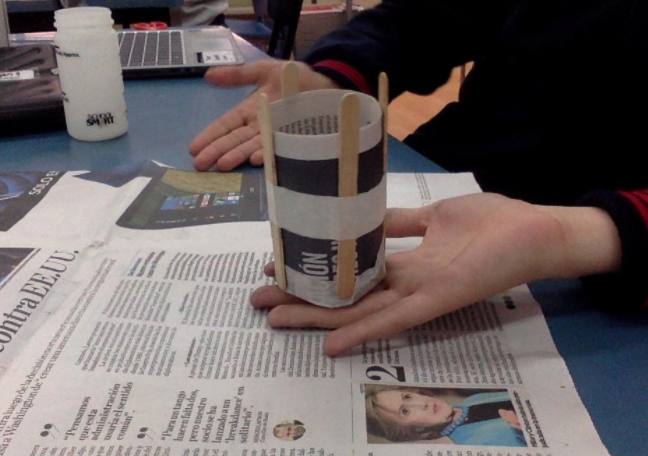
During the test, two members of each team were required to film the process with their laptops as part of their evaluation. The testing arrangement was completed on top of a low bookshelf pulled away from the classroom wall to provide 360 degrees of observation by the class.
Final Thoughts and Applications
Here ends my MYP Design journey of designing a newspaper water tank. But like design, there’s always something more to improve! Thanks again to Angie and Jessie for the initial idea, and thanks to my partner Ileana who graciously accepted all the developments I made to the lesson over the two years we worked together. Student feedback was a big part of the process and I am grateful for the insights my students offered each year.
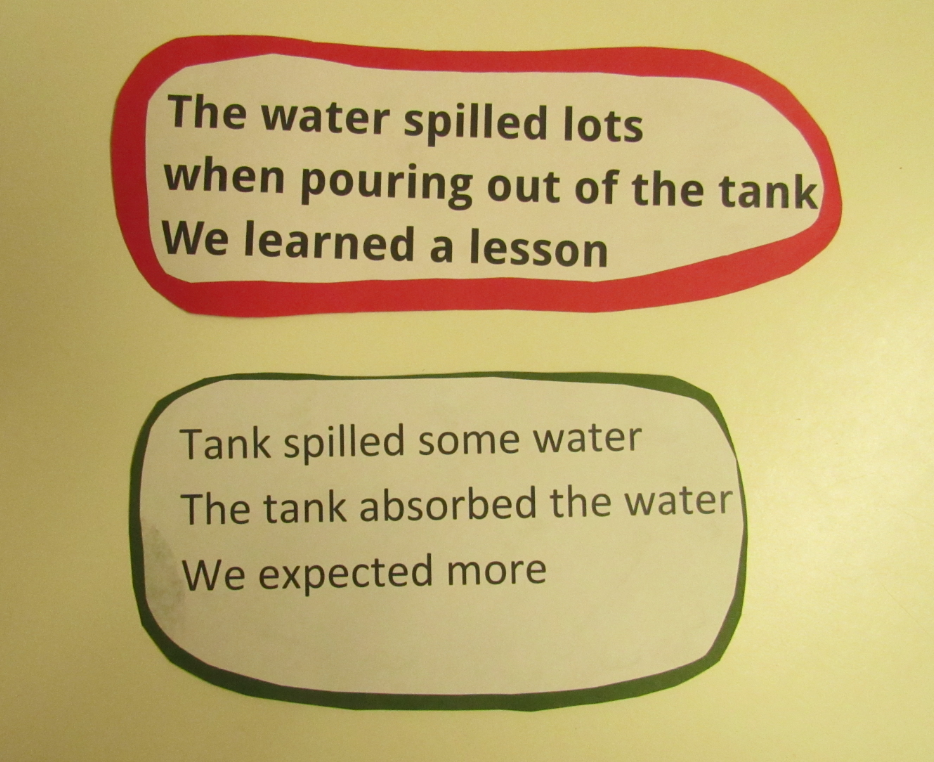
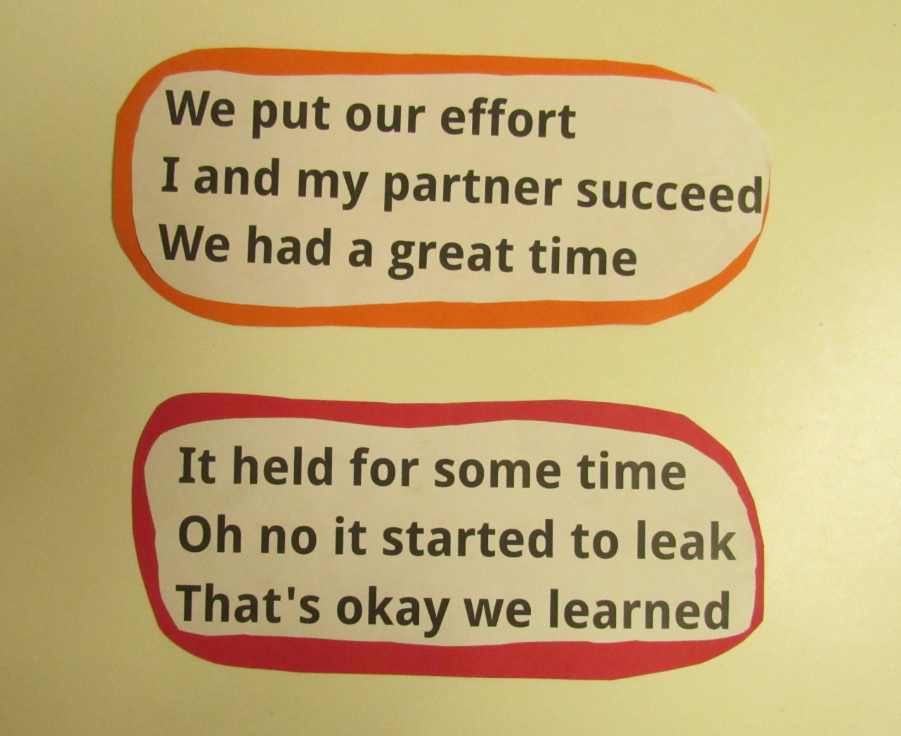
Failure is Part of the Process
I neglected to mention in part one that failure is an important part of the design process. In Criterion A, many students were eager to cite the F.A.I.L. acronym: First Attempt In Learning. This exuberance was just what the doctor ordered and showed me that most had relevant experiences in elementary school to fail forward toward growth.
When it came to testing the tanks in Criterion D however; I had a lot of requests for reassurance. A common question as Criterion D would begin was: ” If my tank fails, will I get a failing grade?” A great question–one I was asked over and over.
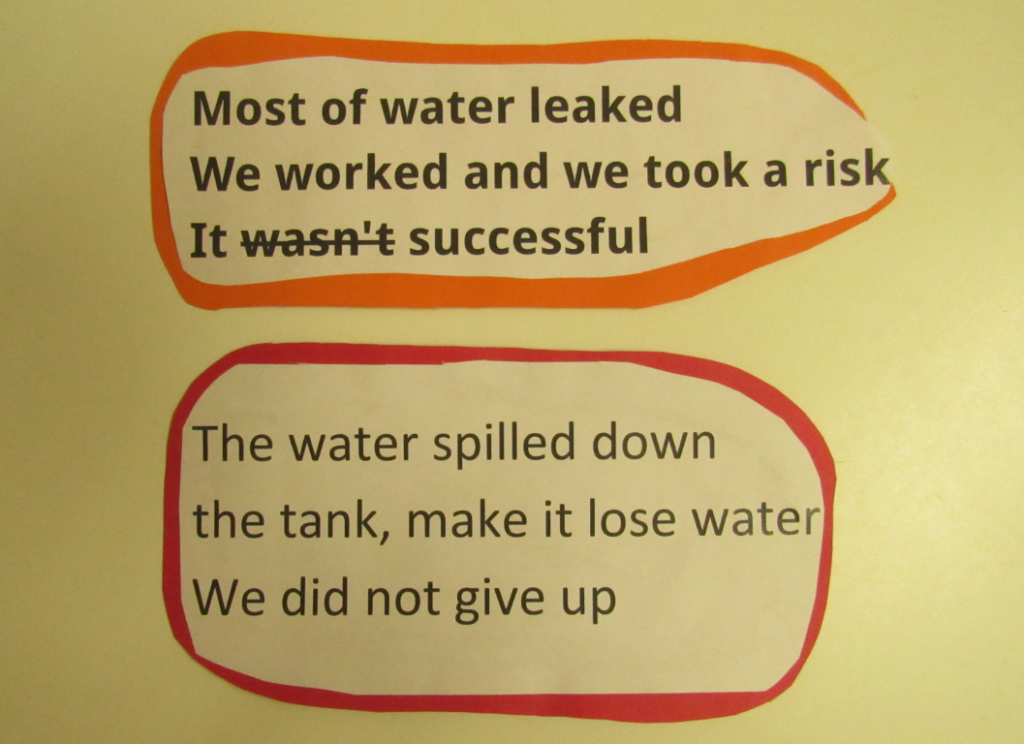
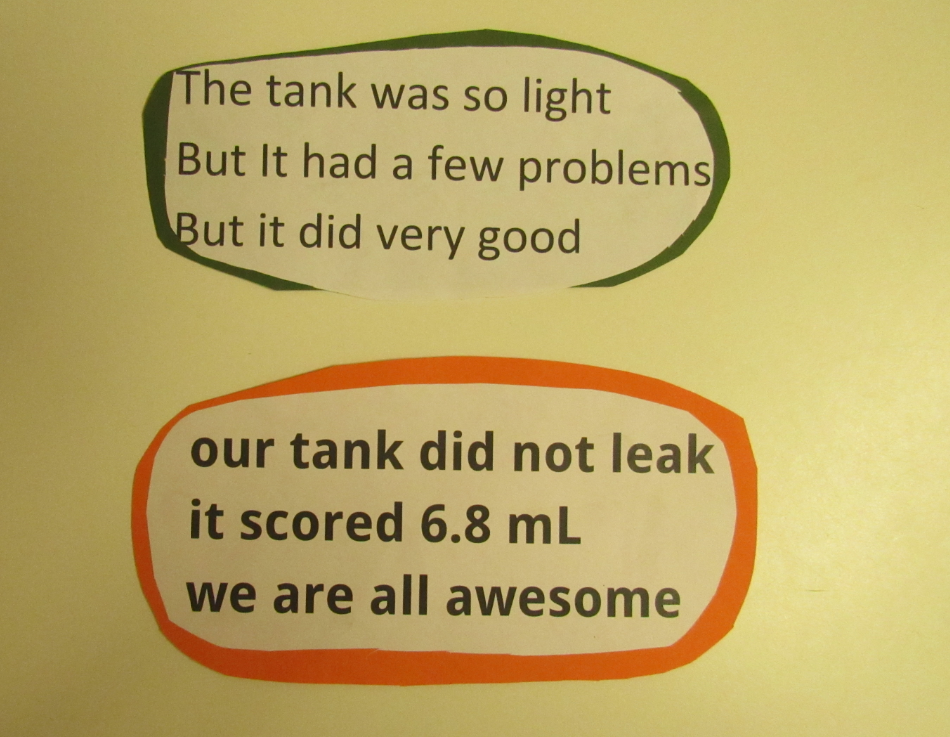
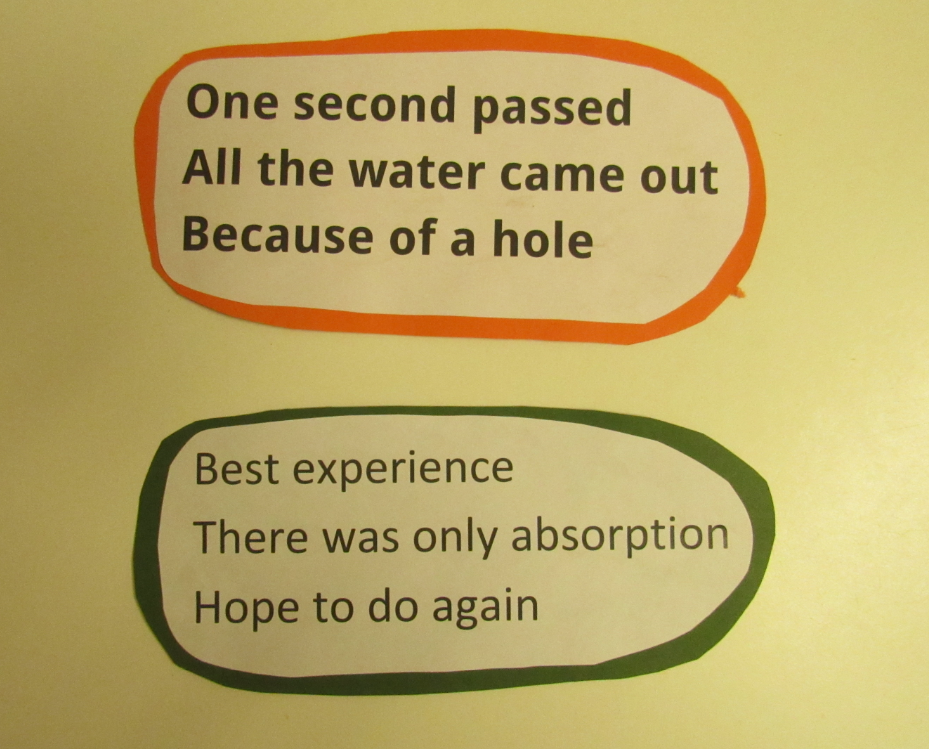
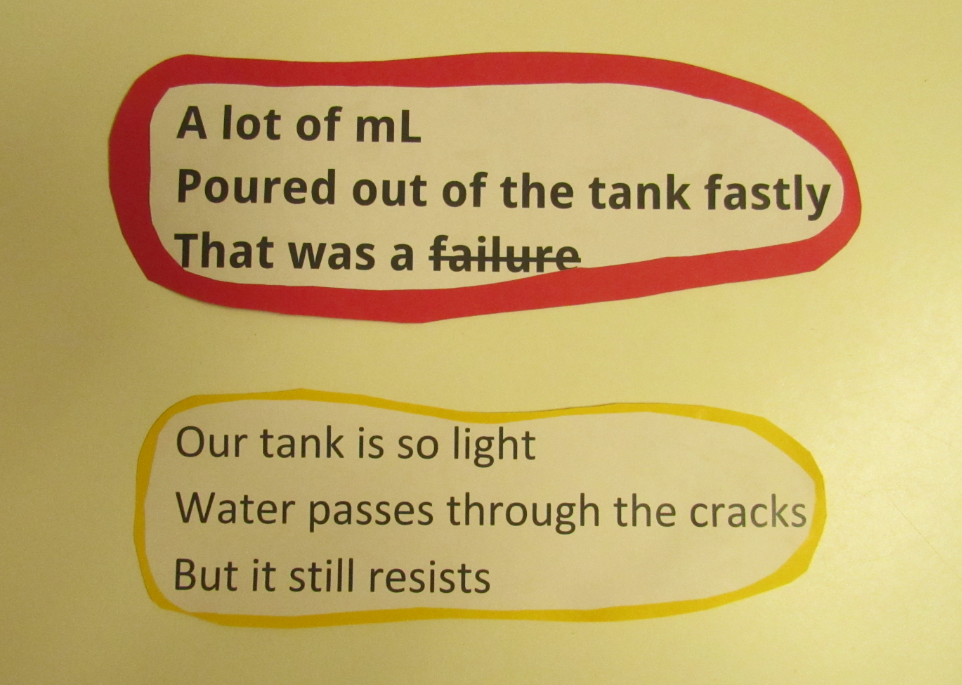

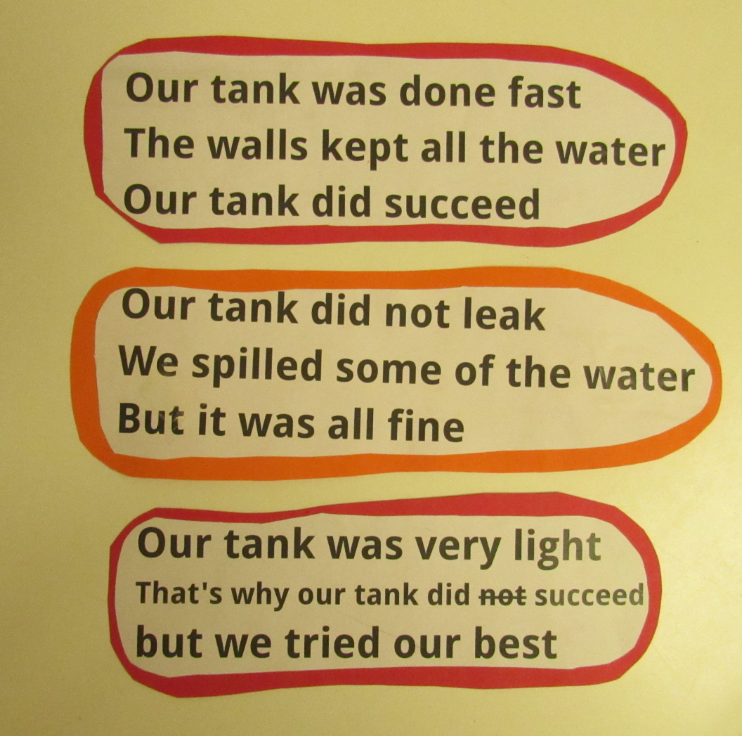
Criterion D was set up to capture test data, evaluate the tank against the design specifications, and reflect on improving the design. My answer was always more or less the same: As long as students were showing their thinking along the way, there was no reason the assume they would do poorly even with a tank that fails the water test. Over the years we did have a couple of fountains made by students who were also academically successful!
It is also worth noting that at the point right before testing, my students had received abundant verbal teacher and peer feedback, about three official formative grades, and three official summative grades. So they were in good shape to know what was expected academically.
The Design Cycle – Teach It Again?
Even though I had taught this unit to over 300 sixth graders, I had only taught it at one school to one age group. Seventh or eighth graders might be more in tune with a mathematical trade-off equation; however, they might find the problem using everyday materials not as interesting.
Though it may be not every teacher’s cup of tea, teaching multiple sections of the same lesson can add insights into perfecting the learning–at least for me. I liked the repetition of teaching five similar lessons in one day. Finding the sweet spot between the right amount of support and the right amount of challenge does become easier. Do take notes and gather data as you go!

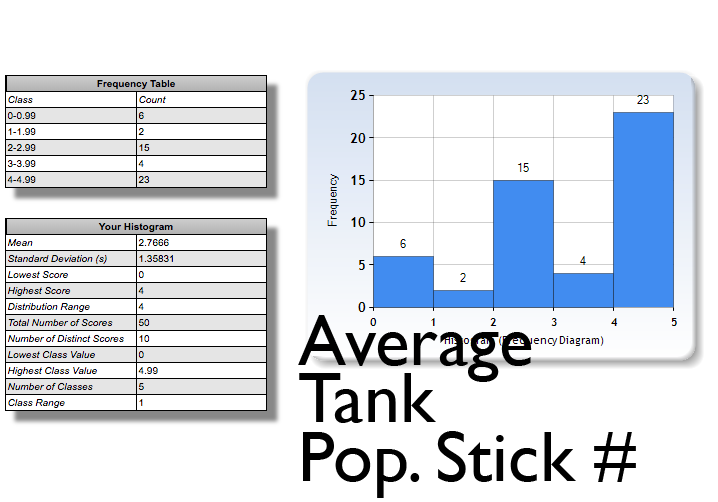
When there are opportunities to capture data, I tried to go about it so that it made sense for students in the context of the current lesson and maybe for later on. The “later on” part was for my interests too since I like playing with numbers and statistical techniques. Concerning students: What if they could use the data they generated as 6th graders later on as eighth or ninth graders? They could go deep mathematically and might have a greater interest given that the numbers came from their work.
How to increase engagement in other ways? This six-week-ish unit was how we started semester one. A hands-on, project-based lesson with an easily quantifiable goal was a good fit for the age group to begin to learn MYP Design. Consider doing a rapid-prototype version of the tank again at the beginning of semester two. Also, consider having students write a version of the GRASPS–a STEM story–with the essentials, of course, as non-negotiable (i.e., the goal of a strong and light tank with a fixed set of materials).
The optimal time in the lesson might be around Criterion D for a STEM story. If I were to remove the MEAL paragraph requirement, there could be a good fit here but it may seem to the kids to be slightly out-of-tune with the reflective nature of Criterion D. A more extensive review of the inquiry questions would probably be a better fit.
Free Lesson Plans – STEM Resources
All of the materials I’ve developed for the MYP Design lesson of engineering paper water tank I am sharing here. This work is licensed under a Creative Commons Attribution-NonCommercial-ShareAlike 4.0 International License. This means adaptations of this work can be shared and others may create and distribute derivative works, but only under the same or a compatible license. No commercial use of this work is allowed. A link back to VistaThink is always appreciated.
Consider modeling other engaging STEM/STEAM or MYP activities based on how the water tank lesson is structured. For example, could you develop a STEM story around a ship or boat in danger story and connect it to the Science Olympiad’s Barge Builder?
Water Tank Engineering from Newspaper – the Files
These materials are essentially MYP Design lesson plans. For the MYP Unit Planner, the context and concepts are:
- Global Context – Scientific and Technical Innovation
- Key Concept – Systems (interacting components where a tradeoff must be found to achieve the goal)
- Related Concepts – Function and Evaluation
The documents can also be considered as STEAM lesson plans for teachers. The last major update was about June 2019. All of the free printable STEM activities are in pdf format and are listed roughly in the order that they should be used. These pdf files were originally made with Google Docs but they do not covert back well (format suffers and images are lost).
Criteria A, B, C, and D make up the student’s MYP Design Process Journal (or design thinking journal). These documents serve to capture each student’s thinking and learning throughout the entire unit.
In Criteria A, B, C, and D, consider adjusting the number of responses for questions that require multiple examples (e.g., Strand A.2 in Criterion A, and Strand B.1 in Criterion B). These criteria are color-coded according to the criterion and the colored areas are instructions or prefilled-in answers. The white/blank empty cells/boxes are meant to be completed by students.
GRASPS Scenario
1 page
Establishes and outlines the learning context for the water tank engineering from newspaper lesson: Goal, Role, Audience, Situation, Product, and Standards (for Success).
Engineering a Paper Water Tank Vocabulary Words
1 page
Multiple links out to definitions and representative images–some links go to general Google image searches. This resource was made quickly and is basically in draft mode.
Statement of Inquiry with Factual, Conceptual, and Debatable Questions
1 page
Some of the debatable questions may be misleading and should be balanced with a corresponding counter-question. For example, this question, “Why should newspaper tank designers use all of the masking tape?” needs to be balanced with: “Why should newspaper tank designers not use all of the masking tape?”
Images of Various Water Tanks in Our World
16 pages/slides
Use for research in Criterion A.
Criterion A – Definition and Research of a Design Problem
3 pages
Strands A.2 and A.3 have links to external sources (e.g., YouTube videos).
Criterion B – Developing Ideas
5 pages
All strands have links to internal and external sources.
Criterion C – Creating the Solution
4 pages
Strands C.1 and C.4 have links to external sources. Strands C.2 and C.3 are combined into one strand for simplicity.
Criterion D – Test and Evaluate
7 pages
There are links to general internal resources at the start. Strands D.1 and D.2 have internal and external resources. A MEAL paragraph is required in Strand D.2. The MEAL paragraph could be substituted with a deeper look into the conceptual and debatable questions.
Criterion D – Test Observer Notes
1 page, 4 copies
Note-taking sheets for student observers of each tank test (not for the testing group). Photograph and place in Strand D.1.6.
Student Tank Sketches, Final Tank Builds, Data Posters, and Data Analyses
17 pages
Visual examples for teachers and students to reference. Note: the tank volume calculation in the student sketch on page 3 is incorrect.
Feel free to use these educational resources as STEAM worksheets for middle school as well!
MYP Design Journal Version
Mr. Matthew C. Miller, Head of Design Technology at the Cairo American College in Egypt with his co-teacher, Mr. Marzouk, refined the Water Tank Engineering unit into an elegant design journal format. Their work includes many thoughtful features to help sixth graders fully experience the design process.
For example, there is a detailed sketch rubric helpful for product design visualization. Also noteworthy is the Writing in Design Technology section on page 16, which includes sentence frames and design vocabulary that would be especially helpful to English-language learners. The entire document is available in both pdf and editable Google Doc formats.